|
|
Beginner
Level: 2Jeff does a thorough job
of telling us what's going to happen during these first two stints, which makes my job easier. ;)
-CHALLENGE ONE-
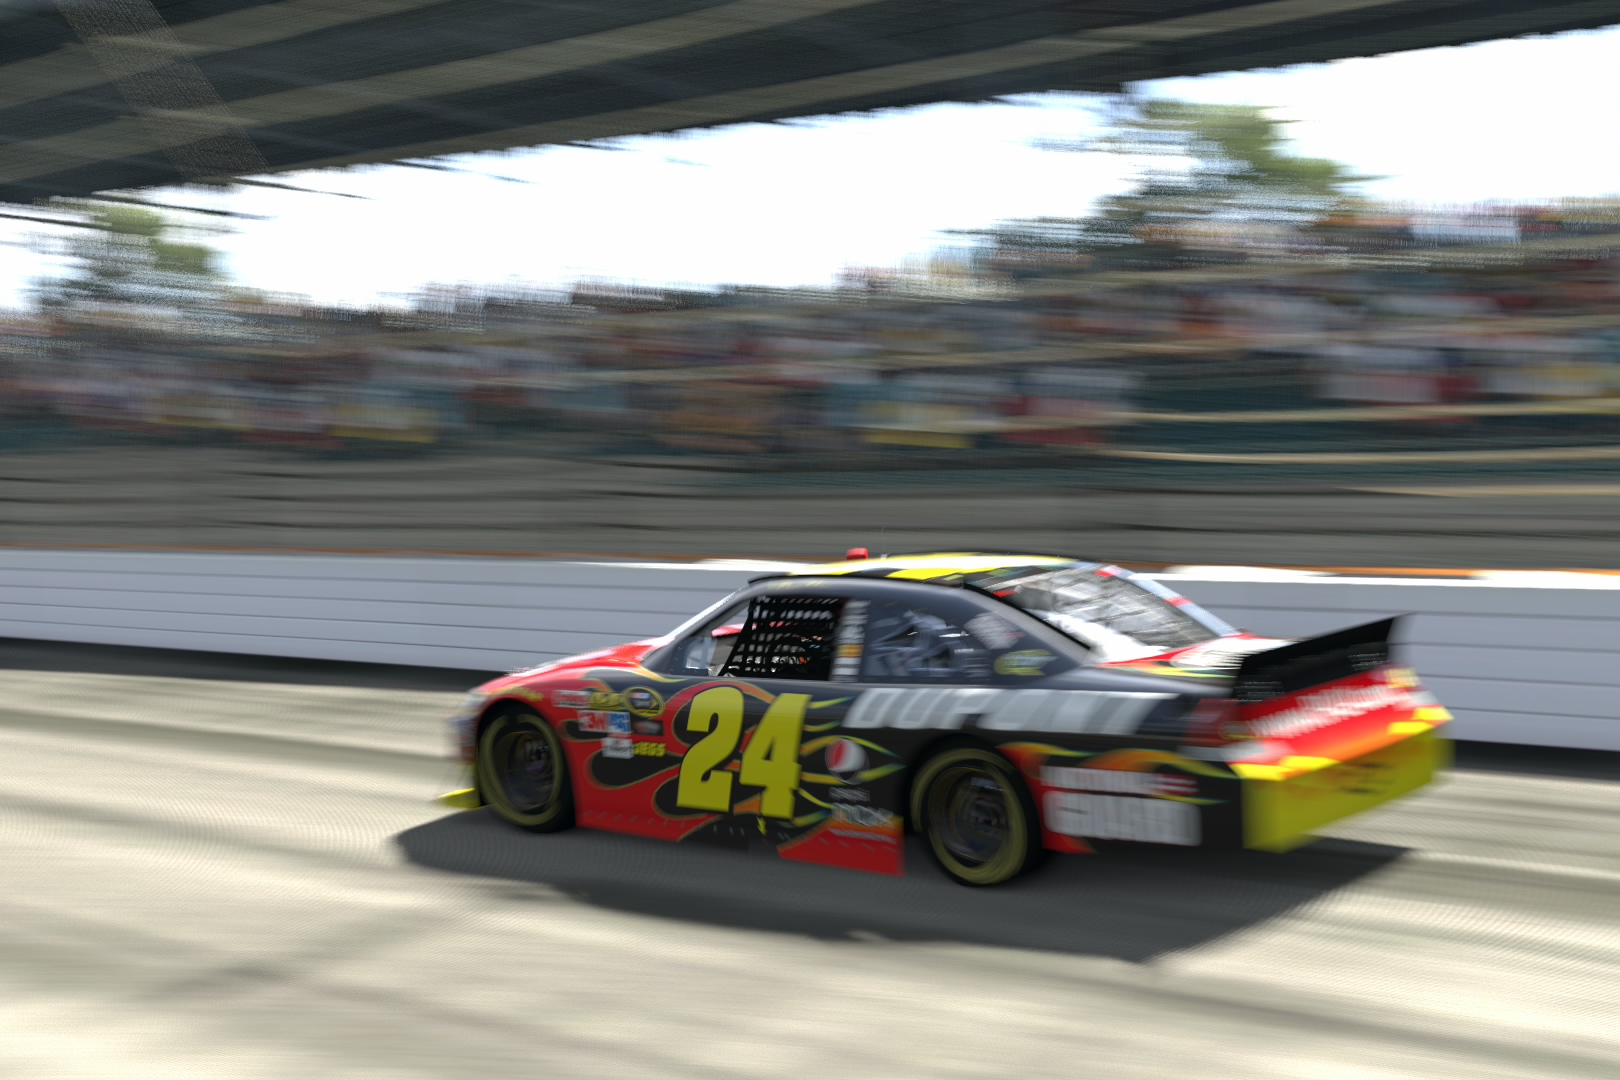
1). The first challenge has us following Jimmy Johnson's Chevy Impala, although it's not actually
Jimmy behind the wheel. Instead, one of GT5's many generic Ai drivers is piloting. We are in Jeff Gordon's Impala. If
you're using a manual transmission (MT) make sure you shift exactly when the car redlines, otherwise
it'll soon lose speed as the engine hits its RPM limit. 2). Follow ("draft") Jimmie's Chevy as best
you can. This helps gain speed, as Jeff has mentioned. 3). For you DS3/sixaxis users out there, notice steering
input. Full steering lock will not create a spin, and to turn this beast, we are going to need to push the steering
mushroom all the way left or right. I can only imagine the strength and concentration that's needed for those that actually
have wheel/pedal sets. * I've found that setting steering speed to +4 on the Sixaxis boosts steering
speed to more acceptable levels. Highly recommended for getting quicker reactions when trying to hold a line or twitch
the front-end.. 4). If you've drafted Jimmie's car well, there should be no prob passing the finish line first. An
easy 9,000 credits in our pockets.
-CHALLENGE TWO-
Now we've got four cars to pass, and half a Daytona lap to do it. This one is much more difficult to succeed
than the first challenge.
1). As the challenge starts, we're following two cars. Since Jimmy Johnson's Impala (with
the Lowe's advertizement) is closest, I prefer to draft this car first. More speed gets created earlier. Truth is, it's
possible to draft either car.
2). You have a choice of squeezing between Jimmy's black Impala
and Juan Montoya's red Impala, taking an outside line, or taking an inside line. Any of these three methods work. If you find
one car pulling ahead of the other (in other words, if the red car pulls ahead of the black one) it's best to follow this
guy for a longer draft which creates more speed overall.
Tip: notice that (unlike license tests or GT4's Missions)
the Ai has some free will here. They don't always do the same exact thing drive after drive. Sometimes Jimmy's car gets ahead
of Juan's, and sometimes Juan's car gets ahead of Jimmy's.
3). About halfway around the oval, you should hopefully
be past Jimmy's and Juan's cars. If not, it'll be trickier to attain 1st place.
4). The rest is a given.
Draft Tony Stewart's Impala (the other red Impala) as much as possible. This car will be drafted during most of the huge,
banked turn. Just before the turn straightens, get behind Dale Earnhardt Jr.'s vehicle. as early as possible. The finish
line is just ahead.
-----------------------------------------------------------------
Intermediate
Level: 9
-Inside Driving - Daytona-
My time: 12.953
Now for a series of challenges that
has us travelling thru artificially narrow areas of this wide track. Why is this important? It's important because
NASCAR drivers often must guide their car thru such narrow areas. Instead of cones, they've got traffic on their inside or
their outside, and they'll need to stay within a certain, steady line to avoid it.
1). The first challenge has
us rushing towards Daytona's Turn 1. There's really not much to it. We are doing the entire first banked
curve all the way around, and we're not supposed to knock over any cones. We also cannot step too far off the
bank towards the bottom (where the yellow line is).
2). One of the toughest things about this test is at the very
beginning it'll say START across most of the TV screen. And those cones come up fast. We're blind! This makes it
hard to aim into this first bank. The idea is to nose the Impala somewhat towards the left.
3). Upshift into 4th gear
at redline.
4). Once the car is aimed, simply keep the throttle planted the entire time. Do not release it even
a little bit; this could be the difference between silver and gold,
since there's not much of a window between bronze, silver, and gold.
5). Steering must be twitched this way
and that to keep the car rolling between its narrow path. Try not to jerk the steering too hard, keep it smooth as possible.
Get into a "zone" where the steering is being micro-motioned this way and that.
You'll know when you've steeered too hard because those tires will start to squeal. Keep these squeals as
short-lived as possible. Occasional twitches are almost unavoidable, but (again) the more jerks and twitches are made,
the less chance gold will strike.
An enormous amount of credits is dispensed just for doing this (and other) NASCAR
Intermediate challenges. 57,000 are for whomever makes gold (actually,
make that 70,000). When I first did the Intermediate level, I went literally from the working
class (14,000 credits) to a rich man (242,000 credits). I might be wrong, but I don't think all of GT4's missions combined
paid this much.
---------------------------------------------------------------------------------------
-Inside Driving - Indianapolis-
My Time: 10.641
This
one is exponentially harder than the challenge at Daytona. It took me maybe four tries to gold Daytona. But at Indy, I was
about to pull my hair out. Maybe 40 tries here.
1). The first trick is to leave the car in 3rd gear
after the clock starts.
2). At first, try to be just inches from the cones as the car enters
their lair. This is basically to gain some leverage as the curve tightens in a moment or two. Entering too far away from the
cones (inwards), will cause a need to brake later on at some point, to keep from understeering.
3). No brakes!
Instead, release the throttle just after passing the most inside line of cones. I'm talking about the
cones that are the farthest inwards, closest to the car as you pass by. See diagram below.
^
^
^
^
<-release throttle here
^
^
^
^
4). With throttle
released, nose inwards. This is tricky, of course. Too much steering and the Impala will roll off-course. Too little
and it'll eat some cones.
5). Let the car coast a couple seconds after throttle has been released. Start passing
the rumble strip on the inside. It's okay to lightly run the inside tires on this strip, but don't clamber all over it.
This would make the Impala harder to control.
6). At some point (this is really tough to gauge) start adding throttle.
Full throttle, or partial throttle, it all depends on your exact cornering line, and how much leeway the Impala has as
it's rushing out. There are a group of three red cones on the far inside of the turn (off-track). Sometimes, I find it's best
to start adding throttle just before passing these inside cones.
It helps to get as much steering as possible done while the car is still deep into the turn, where the three
red cones appear. As it leaves the turn, the idea is to have all turning-in done, so that NO steering is going on as the track
straightens out. It's important to get a burst of speed going toward the end, and if the car is still steering as the test
comes to a close ... that's not good.
**As Jeff notes as we screw up again and again,
"NASCAR requires a delicate touch". Too much throttle will make the front-end take a wider path, threatening cone
knock-over syndrome. Throttle must be modulated for best results before it can be planted more firmly towards the end of the
challenge.
-----------------------------------------------------------------
-Outside Driving - Daytona-
My time: 13.199
Now we're tackling
things from the "outside." In effect, we're tackling the curves from up high. Again, there's a very small window from
bronze to silver to gold.
1). As the test starts, nose towards the right this time. The huge START on
the HUD let's us know the test has started. As if we couldn't figure this out on our own. It also (again) creates an
annoying blind spot, making it difficult to see where to aim exactly.
2). As the engine redlines, shift up to
4th gear.
3). The rest of the test is just a matter of maintaining full speed while not knocking any cones or grazing
the wall. We won't get failed for grazing the wall, but we also won't make gold.
4). Steering must
be kept somewhere in the middle during this challenge. No drastic moves of full-lock steering are needed...instead keep
it steady, using micro-movements of steering.
Granted, you may need to steer more harshly at some points...what I'm getting at is that doing
so scrubs away speed, and can mean the difference between silver and gold. Try to keep it steady.
-----------------------------------------------------------------
-Outside Driving - Indianapolis-
My Time: 10.909
Yah! The final
test! Oddly, this one seems to be easier than the Inside line one.
1). Again, we're rolling and the huge START
sign is displayed for those who can't figure out exactly when the test has started. Nose somewhat to the right to avoid
that wall of cones that's coming up fast.
2). DO NOT shift up into 4th. Do NOT brake. Instead, release the throttle
just after passing the inner grandstands (where all the people sit). Coast for about a second or two, try to gauge when it's
safe to re-introduce throttle, then modulate it. Don't plant all the gas at once; doing so will guarantee some wall-crunchage.
3). There are about seven or eight feet between those cones on the inside and the outer wall. One might get
tempted to stay close to the wall since it won't fail if it's touched, but for gold it's better to stay inside (closer to
the cones).
4). Again, the idea is to be going full-bore as the turn straightens. If the car is still needing
to be steered toward the end, say hello to yet another bronze or silver.
As a final note as to the ease of this one, I've actually grazed the wall a bit and still golded Intermediate
test #4!
---------------------------------------------------------------------
Advanced
Level: 21
-Challenge One-
Now it is time to try Jeff's top challenges, and each of these three challenges puts us into a different
scenario. This first one at Daytona has us pulling into the pits while the rest of the grid is on some sort of caution lap.
We get new tires and some fuel, and then we're auto-launched back onto the track, as the race starts up again.
Now, our temptation might be to crank our steering all the way to the right early on, so that we
wind up somewhere toward the front of the pack. But after doing this first challenge over and over many times, I have concluded
that it's actually better to get about mid-pack; position 6 seems to be best. The reason?
It's all about the drafts. If we get ourselves to the front (let's say position 3) this
might seem to be great. But in reality, those cars toward the front are already moving too fast to get a good draft from,
and by pure mathematics, they'll already be too far ahead to catch up to.
No, it's best to wind up in a situation which has us following somebody more immediately. I wound up about
ten car-lengths behind the #11 Denny Hamlin FedEx Camry, which may seem too far back. But ten car-lengths is fine while going
down the far straight (after the first big banked curve), and this became obvious as I picked up a lot of speed as the track
straightened out.
From this moment, it became all about finding that perfect draft, slipping by whatever car was in front
of me carefully, sometimes on the inside, sometimes on the outside, and then concentrating on that next big draft. The thing
is, finding that "perfect draft" is based somewhat on luck, since these cars we're up against do behave somewhat unpredictably.
----------------------------------------------------------------------------
-Challenge Two-
Now we are in Indianapolis in the same situation, but this time without a pitstop. Instead, the game starts
us in last place every time. Again, drafting is certainly important, but to win during this race,
we'll also have to consider a few other factors.
1). DO NOT touch anybody. DO NOT even tap them. The game will most likely fail
you right then and there if you do. Now, it is possible to unintentionally bump into somebody and nothing bad will happen,
but in most cases, we should be doing our best to avoid touching anybody else.
2). Drafting is important, but so is cornering at this track, which features only slightly-banked turns.
Notice that the AI in this race (and during most other races during A-spec) seems afraid to get really low into those turns
too. This is where we'll want to be. In most situations, we can gain easy positions if we nose inwards early,
give a push on those brakes, get on that inner curbing, and then do our best to avoid touching anybody as we pass
them. It is possible to pass multiple cars as we get in there too, so be careful.
3). Unlike Daytona, gear-shifts come into play at Indy. Shift down into 3rd as you enter one of the turns
which comes off one of the two long straights. Staying in 4th will cause a lot of lost speed, especially as the car's stupid
stability control kicks in.
-------------------------------------------------------------------------
-Challenge Three-
Now it's time to wrap things up with Jeff Gordon. We're going to be using all of the lessons we've
studied so far, in more of a real-life situation, which is an actual 2-lap race. We are starting dead last, of course.
1). I can't speak for the real-life guy, but in GT5, Juan Montoya is a loser. Or at least, the guy Juan has
hired is a loser. That's who the red car two places in front of us belongs to. Don't even bother to follow
this one. Instead, stay behind Jimmie Johnson's Lowe's vehicle directly in front. As we catch a good draft down the first
straight, notice that Juan's car actually slows for some reason. Goodbye, loser.
2). Stay behind the Lowe's guy, getting high up on those banks as we follow its draft. Remember in one of the very first
"cone" trials we did, the idea was to not let off the gas even a little bit. And that's how it is as we're following Jimmie's
car.
3). Chances are the Lowe's machine will get rather distant from us. This is okay. Just keep following its draft down
the backstretch. Your car will approach 240 miles per hour as it nears the final banked turn.
4). Usually as we're leaving the final bank, notice how most cars are on the right side of the track, driving single-file,
including the Lowe's driver. DO NOT follow these guys. They are cutting their throttle for some reason, as they follow each
other. Why? I really don't know.
Instead, get behind whoever is on the left side of the track. This is the 'inside' line. Notice that there are
less cars here? Yeah, we want that.
5). As we draft whoever is in the left lane, we'll probably pass that whole slew of drivers on the right as we approach
the first huge banked turn. Stay on the inside. As the turn begins, nobody brakes, but everybody in that line
cuts their throttle. It's easy to just pass them all on the inside.
6). Down the backstretch, again follow whoever is in front of us. By the point, I was in 4th position.
7). During the final banked curve, several options can be tried. I've golded this by getting up high on the bank, or
getting down low, passing from the inside again.
8). You should pass at least two more cars during this turn, although it's possible to get by all three. Sometimes,
the leader (usually in Kyle Busch's) will notice that we're sneaking up, and try to block our path. Which is okay. Just
draft this idiot toward the finish line. Get on the inside if you can. Conversely, if it's you who is in the lead, do your
best to cock-block anybody sneaking up behind you trying to steal your lead. 9).
... and at the end, listen to Gordon say "WOW" as you ace this one.
|
|
|